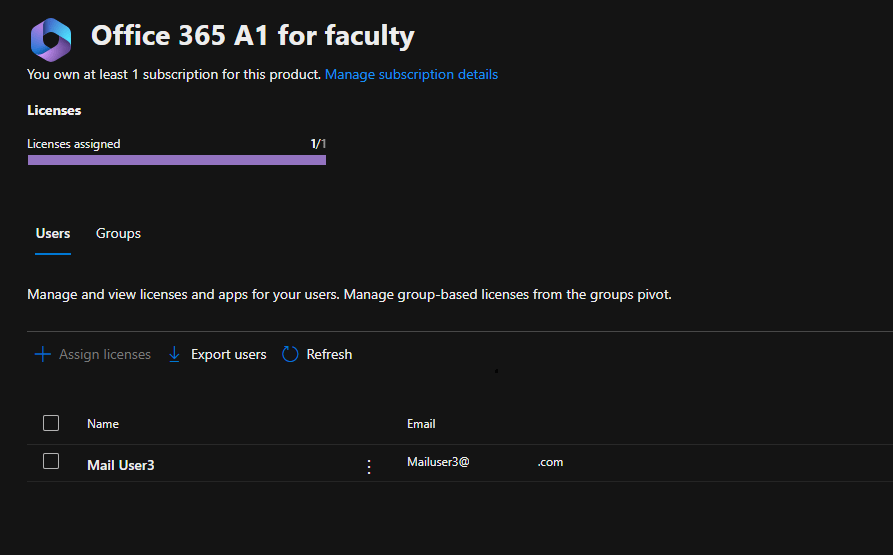
When using group based licensing errors may arise in the license assignment process. In the Microsoft 365 Administrative Center when selecting a license, expanding groups, the list of groups assigning that license are displayed along with the groups processing status.
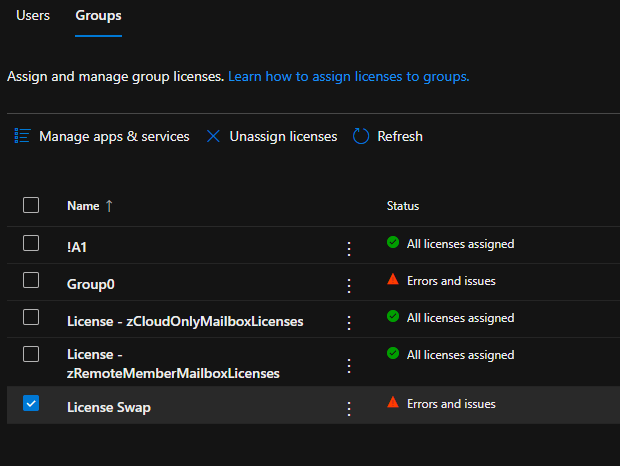
To review the errors associated with the license assignment the group may be selected from this view. This will display the list of users that require action and provide information regarding the failure status.
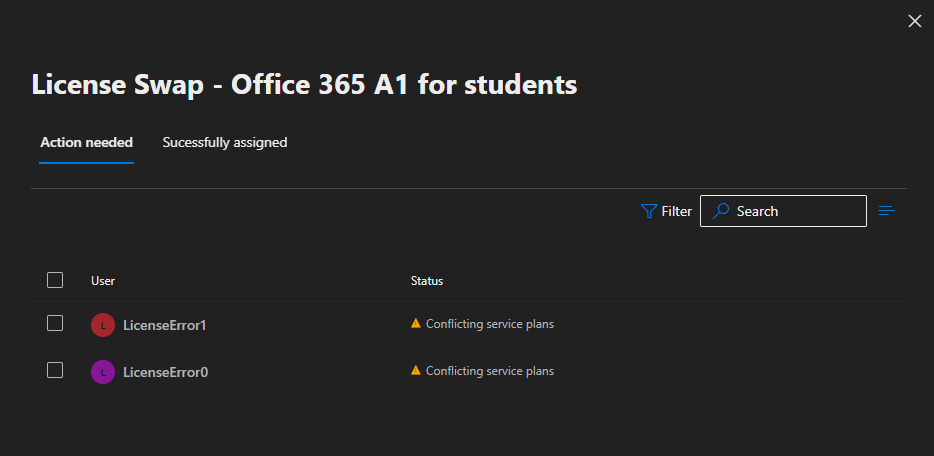
In this example the license assignment is failing due to conflicting service plans. As discussed in other articles this is a common error when two license assignments are occurring and each license contains a plan that conflicts with one another. To reprocess a license assignment the users may be selected in bulk or individually and the reprocess button selected.
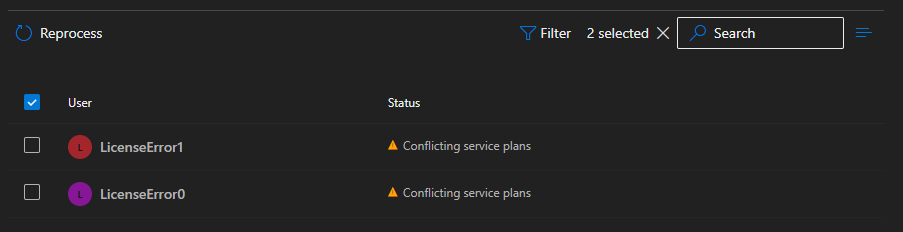
When reprocessing is successful the user will be removed from the actions needed dialog. If reprocessing of a user fails a red error banner is displayed.

In the M365 Admin Center when an error is encountered during reprocessing there is little diagnostic information provided as to the cause of the failure. To discover the cause of the failure the audit log entries in the Entra portal for the users must be reviewed.
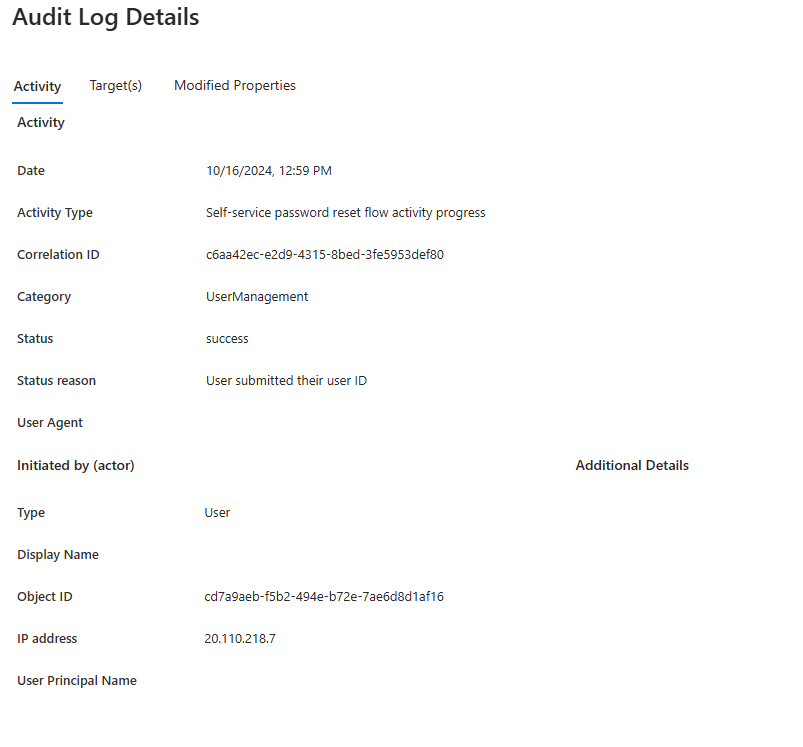
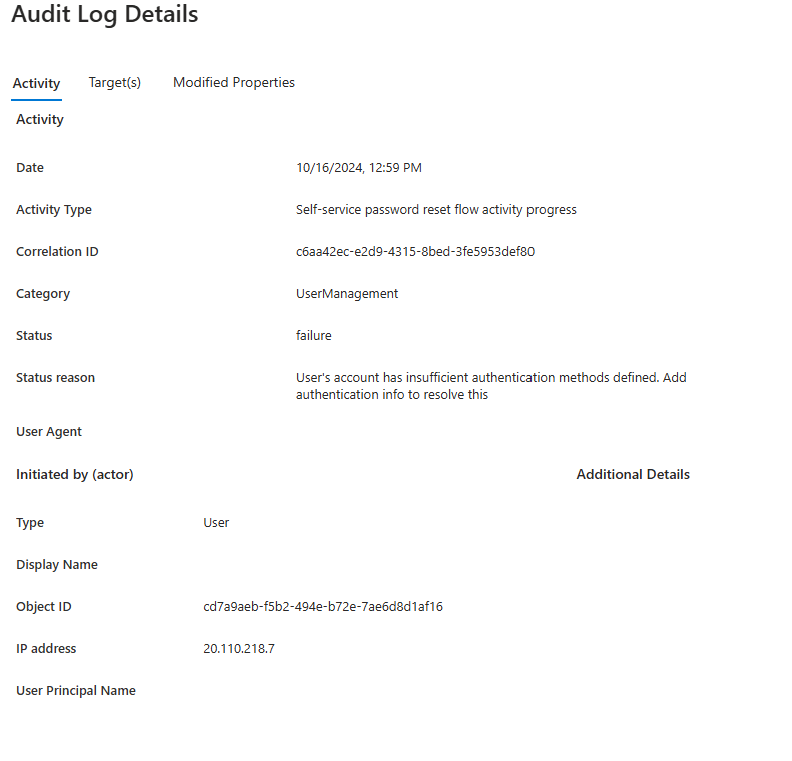
In the audit log when reviewing the “change user license” activity the license error message provides the feedback necessary to understand the error.
The license can't be assigned because the user has licensed service plans that conflict with plans in the new license. Resolve these conflicting service plan pairs to solve this problem: [7547a3fe-08ee-4ccb-b430-5077c5041653, 2078e8df-cff6-4290-98cb-5408261a760a]. Licenses being added: [314c4481-f395-4525-be8b-2ec4bb1e9d91]The current design of the M365 Admin Center does not include this verbose information requiring the administrator to utilize multiple tools to understand the nature of the failure.
In version 1.1.3 of the GraphLicenseManager the ability to review group members and reprocess individual license assignments has been added. In addition, any reprocessing failures are presented to the administrator at reprocessing time combining both reprocessing and failure assessment into the same tool.
To utilize the GraphLicenseManager to perform this work:
Set-ExecutionPolicy Unrestricted
Install-Module GraphLicenseManager
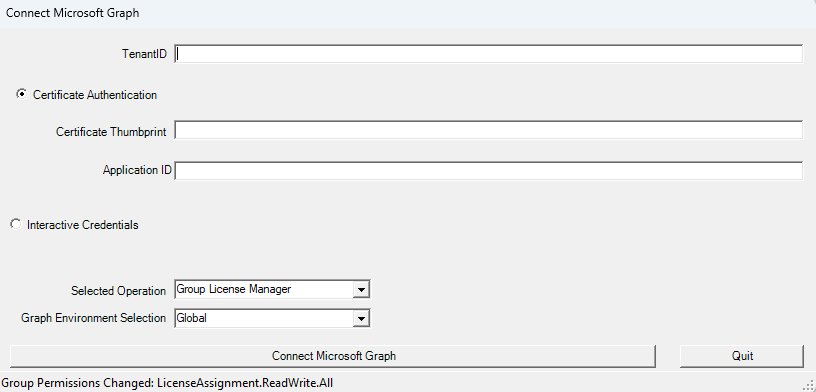
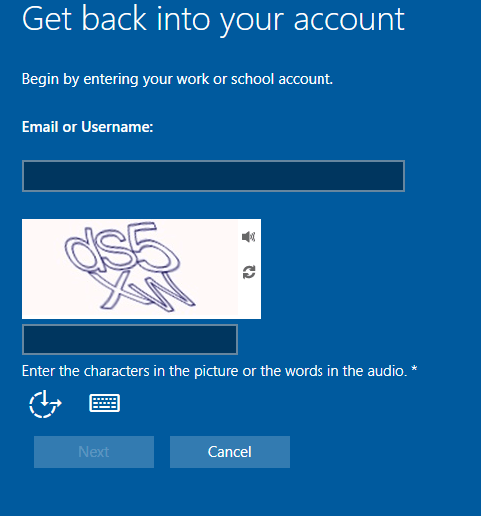
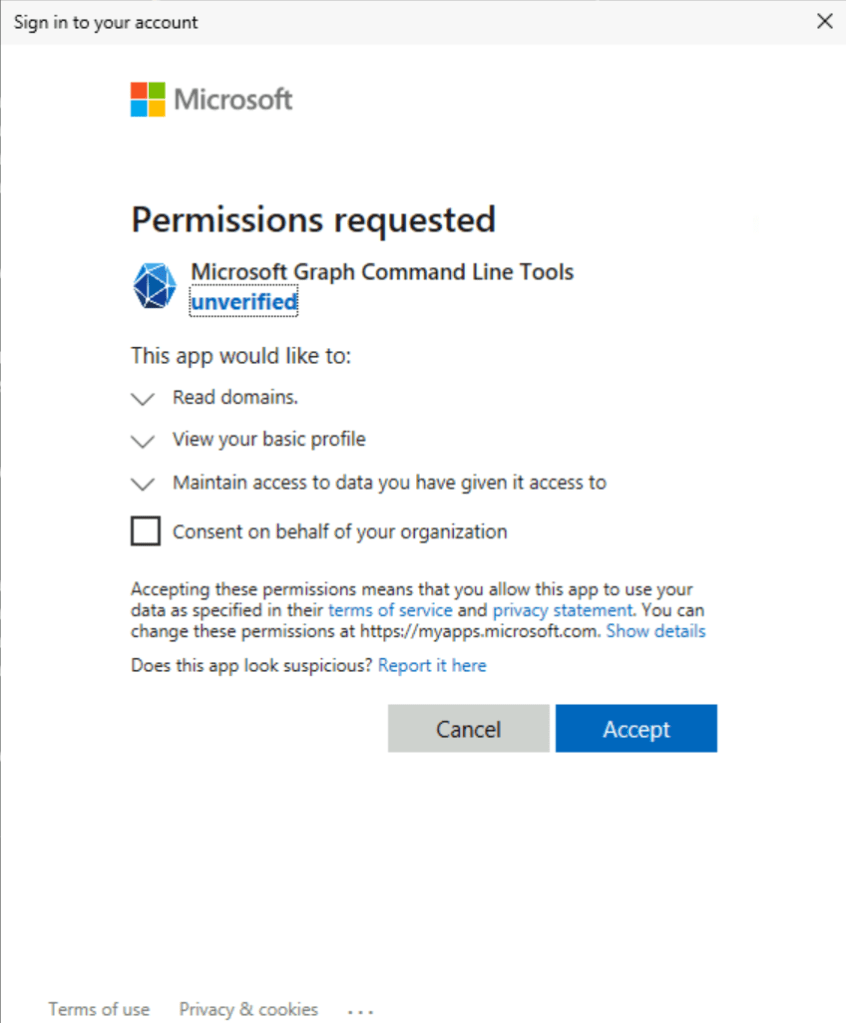
Start-GraphLicenseManager -logFolderPath c:\tempWhen the GraphLicenseManager starts a logon screen is displayed to connect to Microsoft Graph. The module supports either interactive authentication or certificate based authentication.
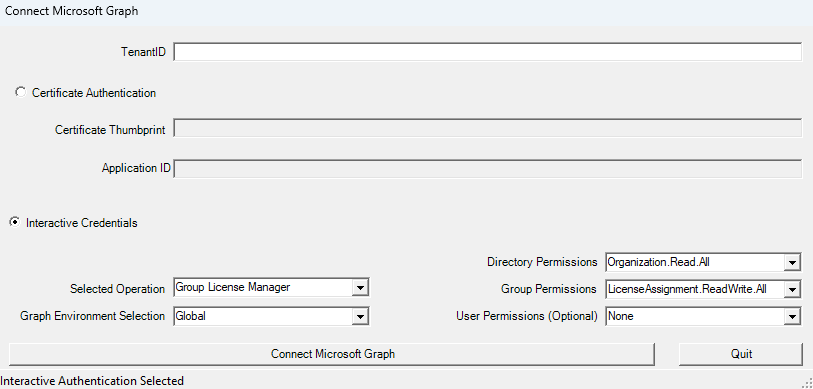
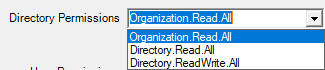
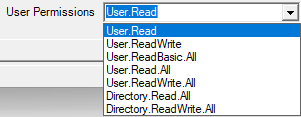
When selecting interactive authentication, the administrator may select the scopes required to perform functions in the license manager. The default settings are the least permissions required to perform functions. When using the GraphLicenseManager to view group members, group member errors, and reprocess users the optional user permissions must be specified. Setting any user permissions will enable the option to view group membership and group processing errors. Setting user permissions to Directory.ReadWrite.All or User.ReadWrite.All will enable the reprocessing option in the group members view.
When using certificate authentication, the appropriate permissions must be assigned to the app registration created in Entra. The same permissions for interactive authentication are required for the app registration.
If no user permissions are selected the module will examine all scopes returned in the graph connection. If the scopes returned contain the necessary permissions to view group members and / or reprocess group errors those options are automatically enabled.
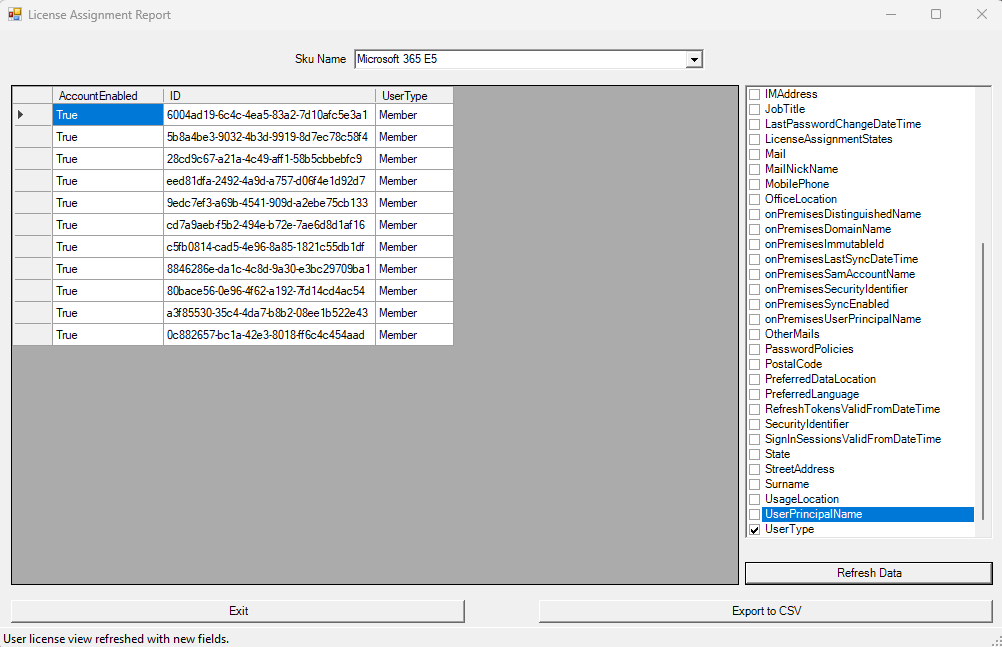
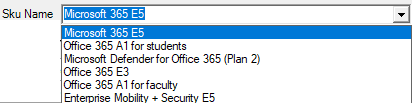
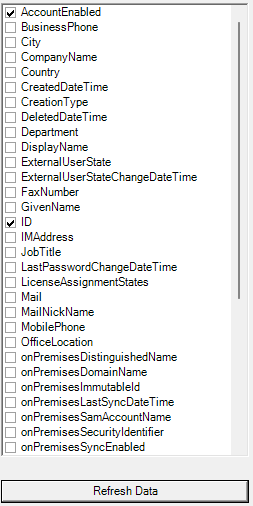
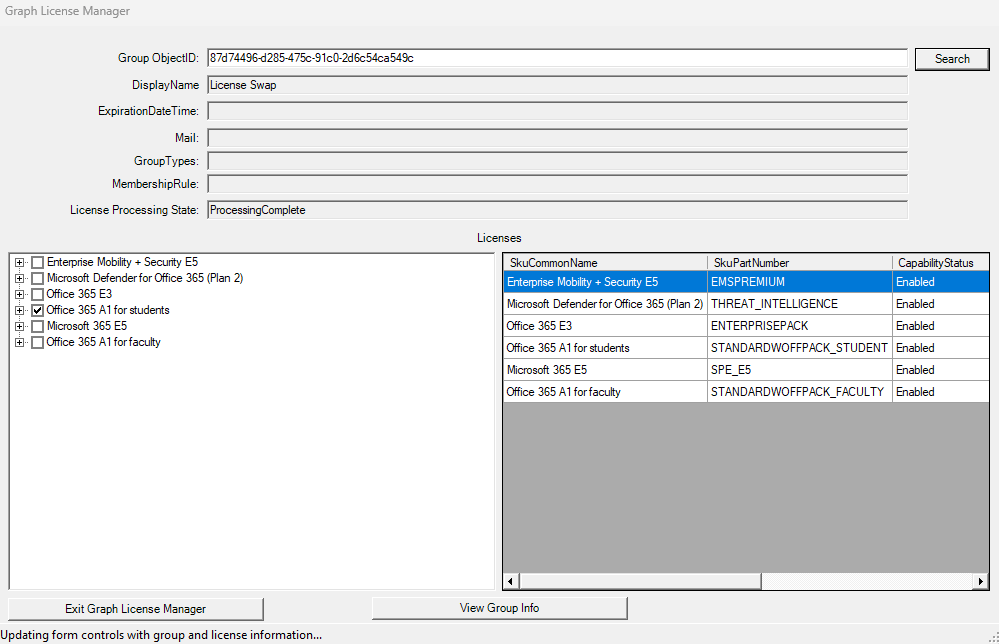
After completing the connection to Microsoft Graph the Group License Manager is displayed. Searching a group object id displays the licenses assigned to the group and a table of all license information within the tenant. If the necessary graph scopes are available the “View Group Info” button is enabled in the center of the manager.

Selecting the “View Group Info” button displays the “Group Information Page” Note: As this page enumerates a table of all members for review it can take some time to render the information.
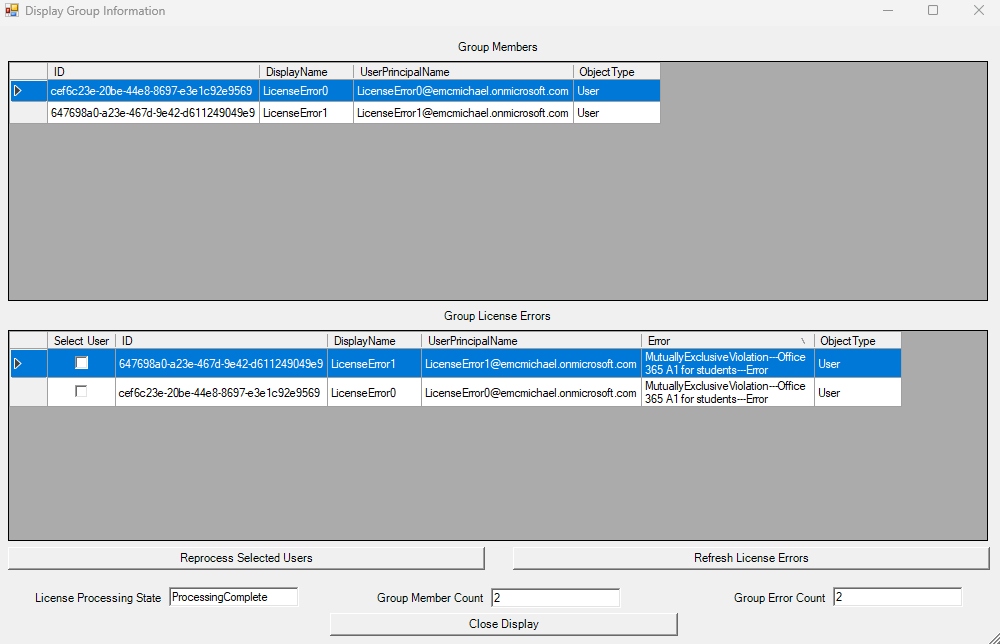
The group information display shows all the members of the group, all group license errors, and basic information regarding the processing status and group statistics. In the “Group License Errors” table a user may be elected for reprocessing. If the necessary graph scopes are abled the “Reprocess Selected Users” and “Refresh License Errors” buttons are enabled.
To reprocess a user select one or more users and the reprocess selected users button.

In this example selecting a user and the reprocess option shows an error message.
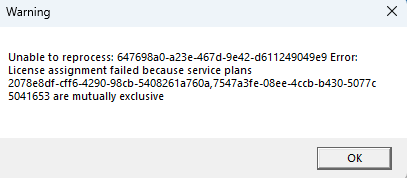
This is expected since the users are in error, and nothing has been done to correct the condition. The error message provides information regarding the license plans in conflict. The guids can be searched to determine which plan and sku are generating the conflict. In this example the plans in conflict are the Yammer plans. There are multiple potential methods to resolve this issue but for the sake of this example I will simply remove the offending license.
With the conflict resolve the reprocess option may be utilized. If the license reprocessing is now successful for all users selected a success message is displayed.
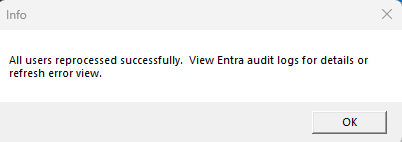
To confirm that all errors on the group have been rectified the “Refresh License Errors” button is selected. This refreshes the group license errors. In this example all license errors are now clear.

I hope that by bringing together the ability to manage group licenses and group license errors into a single tool we can make the adoption and management of group-based licensing simpler and more efficient.